I've Got To Hand It To You
Success in life comes not from holding a good hand, but in playing a poor hand well.
– Denis Waitley
These are my first callous that have torn. I was so Proud! And so sore. During the last comp, I was helping people tape up their hands...not really knowing what I was doing. Hopefully this will give you some insight on how to take care of your hands.
How To Tape Your Hands
Written by Calvin Sun
Every CrossFitter has experienced a torn callus but I think it’s completely avoidable if you take the proper precautions. Perform callus maintenance regularly, don’t use too much chalk, and avoid workouts with hundreds of pull-ups. But what’s a CrossFit athlete to do when the inevitable tear happens? Taping your hands is certainly a good option. The problem I see is that most people have no clue on how to tape their hands. The most common “technique” I see employed is simply taking a length of athletic tape and wrapping it around the palm several times. Without a doubt, this is the best way to waste athletic tape and do absolutely nothing to protect your hands. Anyone who has taped with this method can tell you, a few pull-ups is all it takes to turn this shoddy tape job into a rolled up bundle of tape, chalk, and skin.
Most tears occur at the base of either the ring finger or middle finger, so it’s pointless to tape your palm. The best way to protect your hands and to prevent tears is to cover these hot spots. A former co-worker of mine was a gymnastics instructor and a few years ago she showed me this great way to tape the hands:
All you need is a roll of 1.5″ Athletic Tape and a pair of scissors.
1. Take a long strip of tape about 15 or 16 inches long. It depends on the size of your hands. Experiment until you find the correct length. Do not be stingy with the tape because if you make them too short, they will not work. Start long and eventually you will be able to eyeball the exact length.
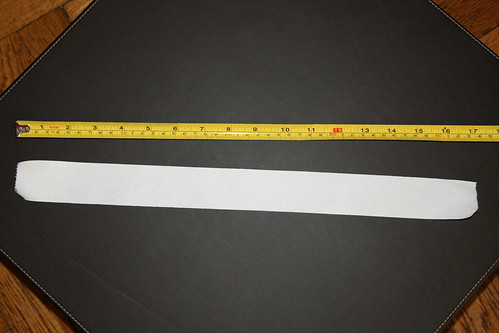
2. Fold this tape strip length-wise leaving about an eighth of an inch of the sticky side exposed. Having some of the sticky side exposed is necessary for the next step.
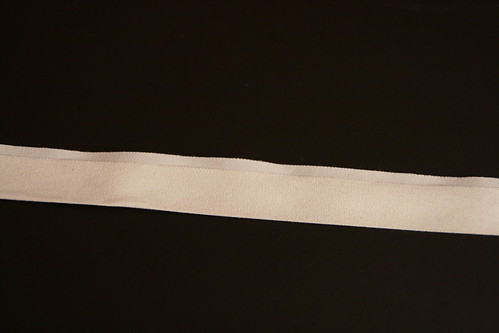
3. Take your tape strip and fold it over on itself leaving a little pointed end. The exposed sticky sides should hold it together.
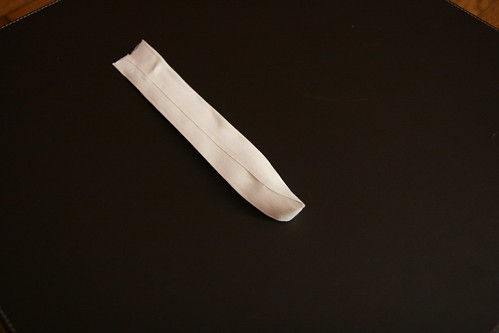
4. Take another long strip of tape about 13 or 14 inches long. This should be about 2 inches shorter than the first strip.
5. Fold this new strip over the previous strip. This extra strip acts as reinforcement and keeps the original strip from splitting in half. Try to cover as much of the first strip as you can right up to the little pointy bit.
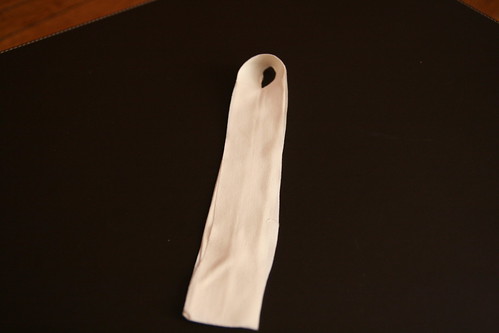
6. This is your tape grip. You will want to practice making several of these. Keep the good ones in a zip-lock baggy in your gym bag. They will come in handy.
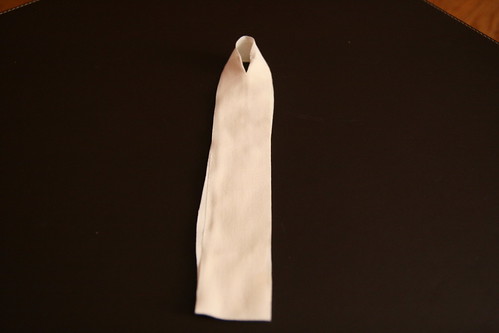
7. Using your scissors cut just enough of a hole in the top to put your finger snuggly through the little pointy bit. Put the appropriate finger through the hole so that grip covers your torn callus. Usually placing the grip over your middle or ring finger works best. Depending on how bad your hand is, you might need to use two or more on the same hand.
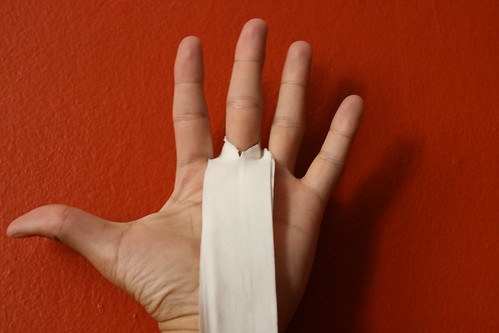
8. The end of the grip should come down over the palm to your wrist. Take a third strip of tape and secure the end of the grip to your wrist with a few wraps around the wrist. Do not wrap it so tight that it cuts off your circulation.
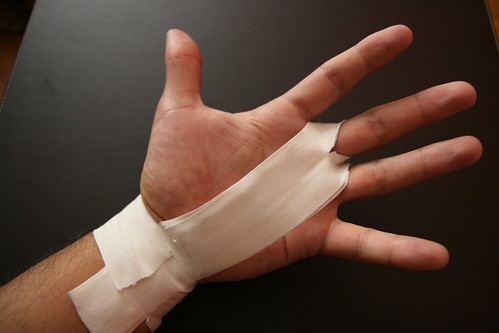
There you have it. Pretty simple really. I hope you find this helpful. Now go do some pull-ups!


0 comments :